Streaming your Meetup - Part 3: Speaker audio
We successfully set up the projector in the first chapter. We are able to record the speaker’s video as described in the second chapter. Now let there be sound!
There are a ton of options for sound, let’s make sure your speakers sound great!
- Basics and Projector
- Recording the speaker
- Recording audio – 📍you are here
- Directing and streaming with OBS
Let’s go!
A few words before we start #
I focus mainly on providing sound for one speaker at a time. I will list some options on how to deal with multiple speakers if you choose a certain scenario.
I also try to find solutions that work with an audio jack solution. An audio jack like you might have on your notebook or similar. Also, some cameras allow standard audio cables to be plugged in.
If your camera has an audio in for external audio, this is always the preferred way. When you transport the camera signal to your laptop (either via Webcam or CamLink), the sound is always in tune with the images. No need to fine-tune it later on.
Also, audio is a beast. Don’t be worried if you don’t get TV interview quality for your live event. The solutions shown in this guide are good enough for your meetup.
Ready? Let’s check our first option.
The 6m lapel microphone #
This is actually the cheapest solution: A 6 meter long lapel microphone, just like the MAONO (Amazon) lapel microphone.
Here’s two things why I think this is an awesome idea:
- Lapel microphones are very closely located to the speaker. This means that you get a good sound from the speaker with little inferences from the surroundings
- 6 meters are a lot. The speaker can freely move, and since you are close enough to them anyway it doesn’t hinder them a lot when moving.
Also, they are cheap! A good lapel microphone is around 25 EUR. It comes with its own power supply in case you need it, and is pluggable via standard audio jacks.
If you have two speakers, there’s also a version with two lapel microphones for the same price. It’s a lot harder to get one continuous sound level, though. But it works really fine!
If you need an example of how recording with a 6m lapel microphone sounds, check out this video from Stahlstadt.js or with the dual microphone at the .NET Meetup. Listen how it adapts to the different surroundings.
The RODE Filmmaker kit #
You can also go wireless! A really, really good wireless lapel microphone is the RODE filmmaker kit. It’s also a lapel microphone, but comes with a transmitter and receiver, that can be easily plugged in your camera or laptop. It has the same implications as a standard lapel microphone, but the speaker are not attached in any way to your recording setup, which is always a plus. It’s a bit costy, though: It’s around 300 EUR. But some say it’s totally worth the money.
Rainer (I featured him in the previous article) is using this one. Check out his talk on Azure Container Registry. Wonderful sound. See also how he is using a headset microphone from the venue, but is still wearing the lapel mic on his collar. Nobody says you can’t combine those two!
It’s hard though to get two speakers connected. You would need an additional tool. Like the Zoom H6.
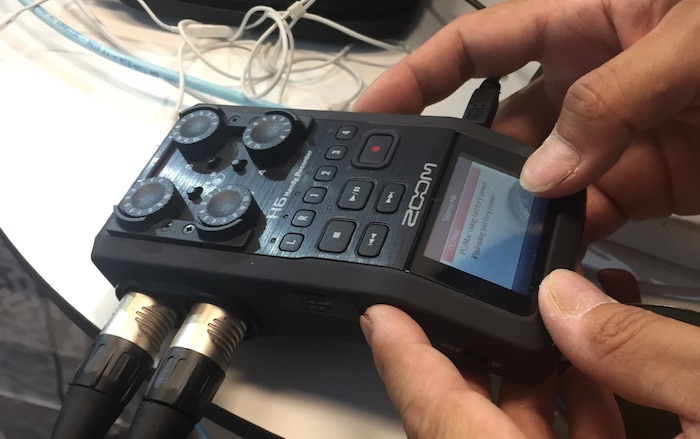
The Zoom H6 #
It’s more a tool like a ful-fledged microphone: The Zoom H6. The Zoom H6 is a little mixer and recorder where you can plug XLR (or 1/4 inch audio connectors) and either record, or transmit via audio cable or USB to your laptop.
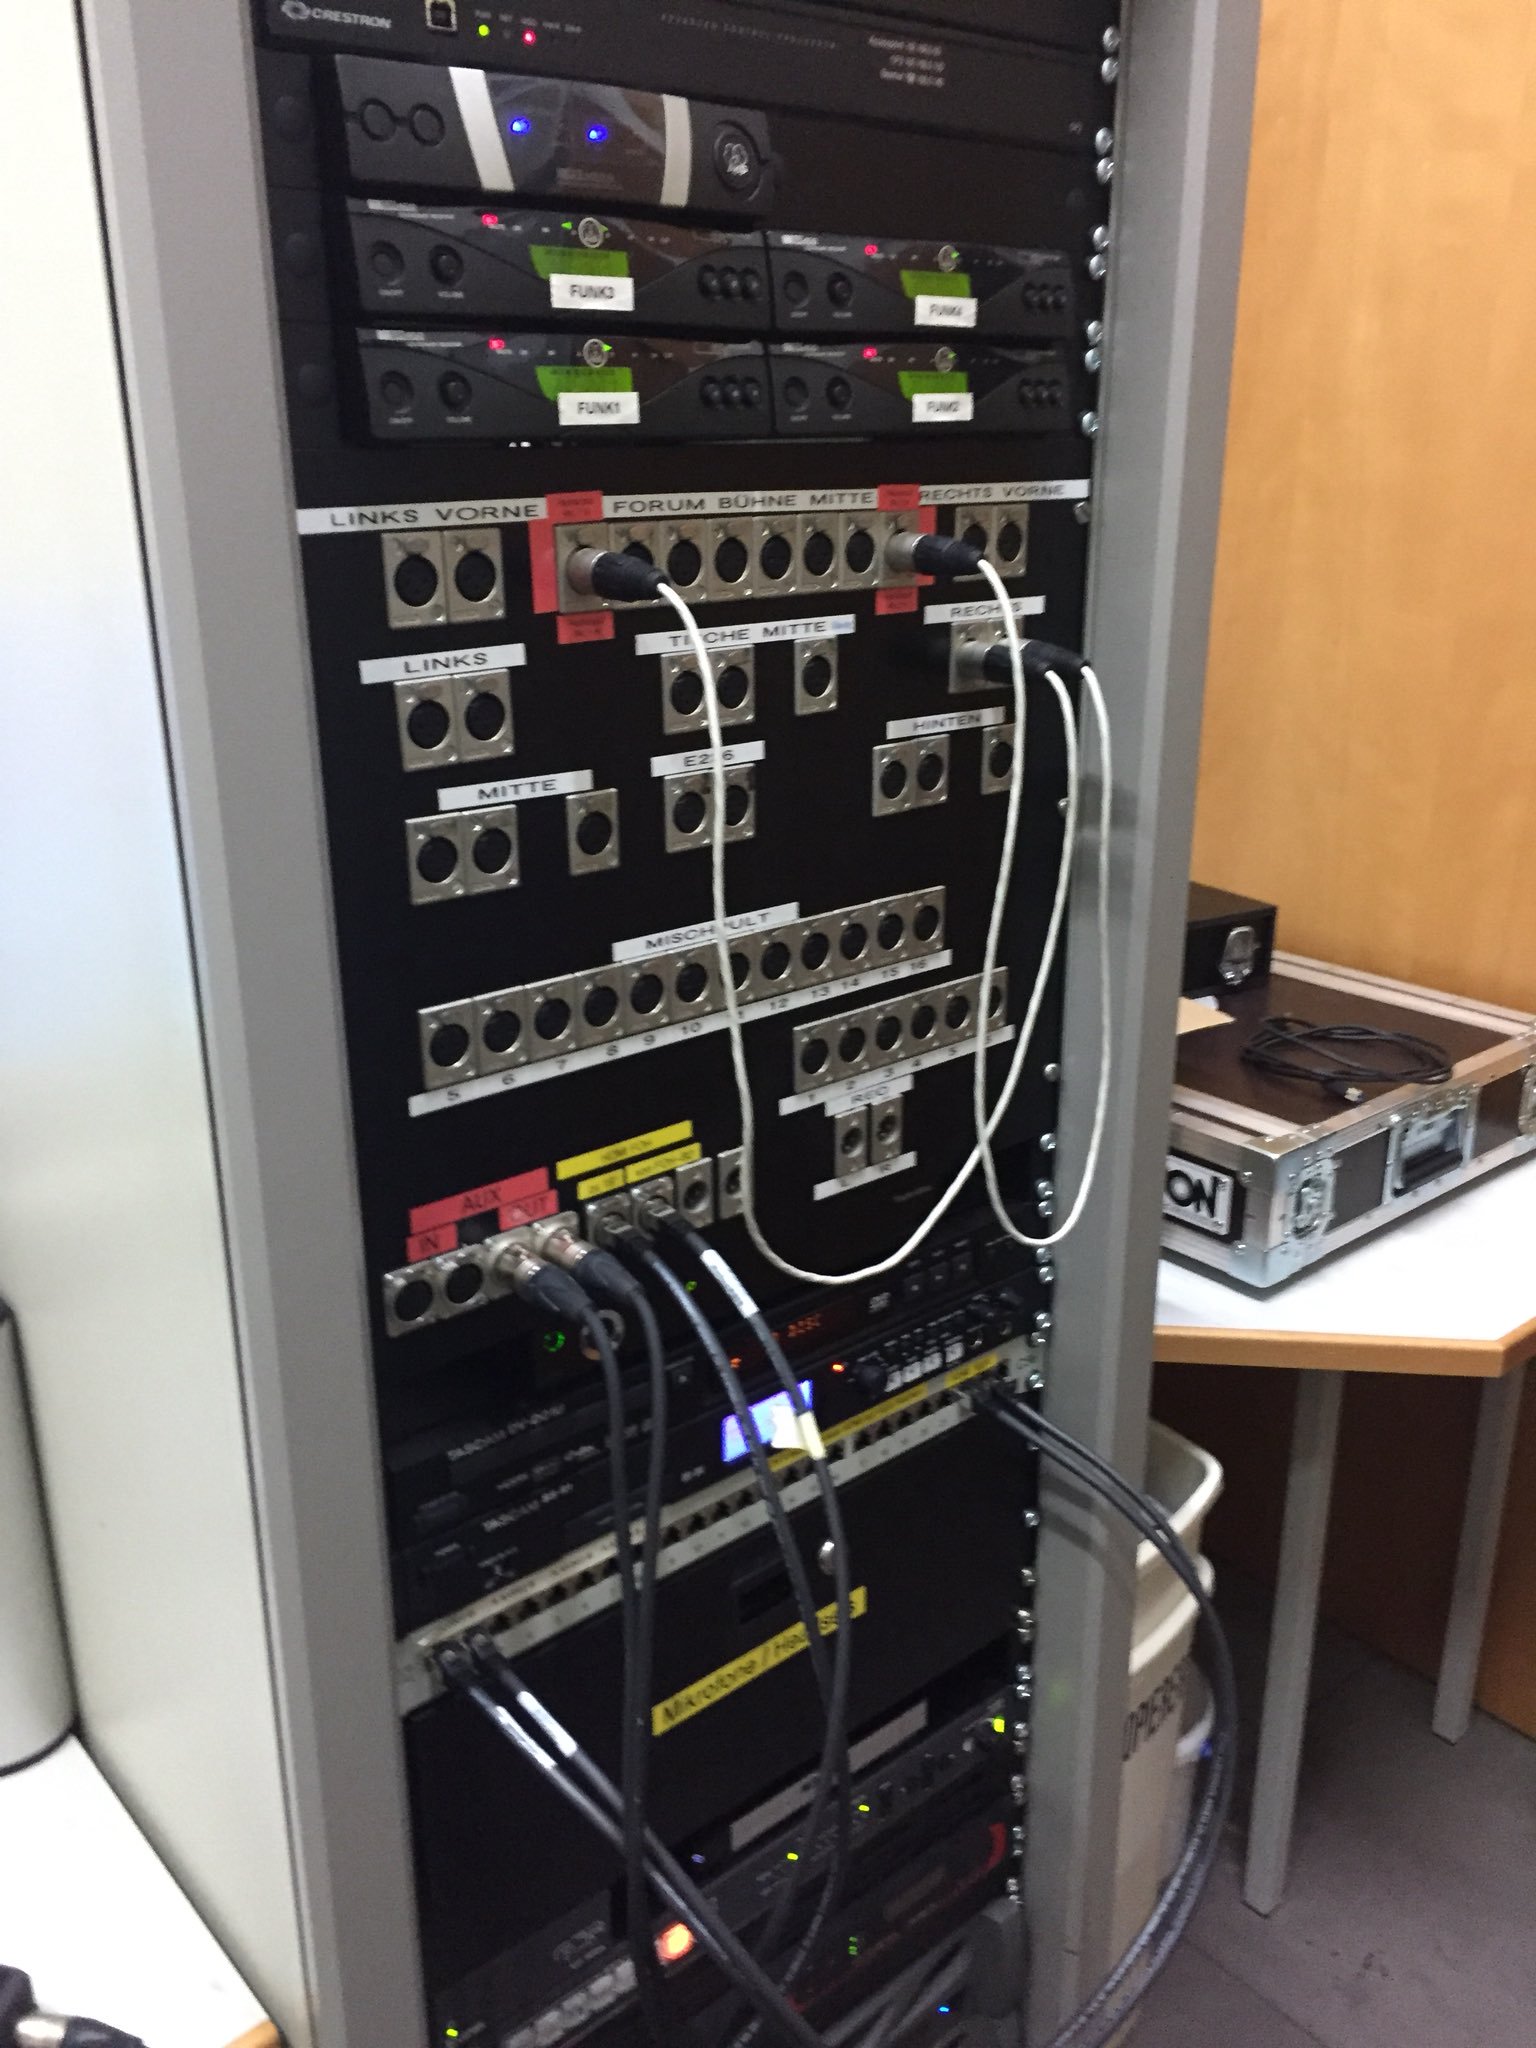
It’s pictured above. I use it for podcasting, and it allows me to record 6 invidual tracks that I can mix later on. But how does this help with streaming? Well, if you are at a location that has an audio setup themselves (with proper headsets, a proper mixer and all), you normally can lead the audio signal not only to the speakers, but also to your small mixer. Ask your host if they have cables for that.
With that, you get A+ sound at almost no effort. The Zoom H& costs around 250 to 400 EUR, and is totally worth it if you do a lot with audio.
Check out the audio of this recording. Crystal clear.
Since you have 4 plugs, you can connect either 4 lapel microphones (even MAONO, which makes it 8 speakers in total), or different sources to the Zoom, and get everything to your laptop.
Highly recommended if your location is suited for that.
You can also mount the Zoom H6 on a regular tripod and attach a directional microphone on it. The microphone is part of the Zoom H6 and makes a kick-ass sound. This might also be a good alternative for your if you don’t want to invest in another microphone.
Summary #
Audio can be rough, but I think the options above provide a good baseline. I’d go for the lapel microphone regardless, as it is cheap and you can use it also with the Zoom H6 if you want to level up at some point.
This is the setup so far:
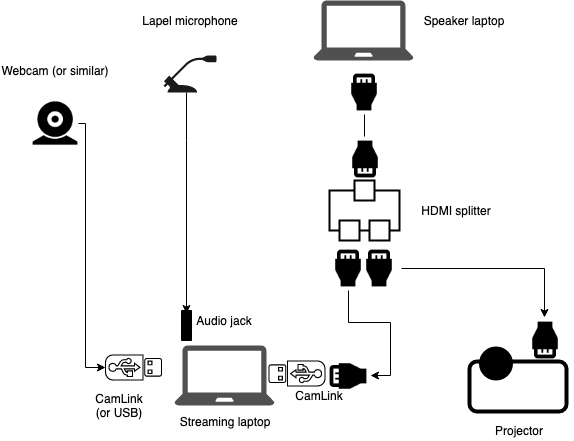
- 2 extra HDMI cables (we assume that there is one available from the projector)
- An HDMI splitter
- 1-2 CamLinks
- A webcam (or similar)
- Your streaming notebook
- A MAONO 6 meter Lapel microphone
Money spent so far #
The MAONO lapel microphone is set. If you want to level up at some point, consider both options, especially the Zoom H& as it’s an essential tool for any audio needs that exceed recording one voice.
- MAONO (Amazon) - 25 EUR
Together with 290 EUR from the previous chapter, we spent 315 EUR to stream.